Translate

Showing posts with label Brownies. Show all posts

Saturday, May 11, 2013

Dandy Cake and Happy Mothers' Day

This is the fourth year that I'm celebrating Mothers Day without my mom.  She's been gone that long.  I still feel the void without her and missed her dearly even more so on special days like this.

Happy Mothers Day, Mom!

This cake is called Dandy Cake and since I feel like eating chocolate cake with some nice frosting, decided to make this for myself.  It's chocolate cake frosted with peanut butter and topped with chocolate ganache. This cake is super-dandy-licious.  The peanut butter blends well with chocolate.

It's such a large cake, I shared it with two other moms, my two neighbors!


1 cup water
1 cup (2 sticks) butter
1/3 cup hershey's cocoa powder
2 cups all purpose flour
2 cups sugar (I used 1 1/2 cups fructose)
1 tsp baking soda
1/2 tsp salt
3 eggs
3/4 cup sour cream
3/4 cup creamy peanut butter (I used 1 small tub of chunky peanut butter)
Chocolate Topping: Place 2 cups semi sweet chocolate chips and 2 tbsp butter in a saucepan and heat over simmering water until melted and smooth.

1. Pre heat oven to 180dC and grease and flour 15.5 x 10.5 x 1 inch jelly-roll pan.
2. Combine water, butter and cocoa in small saucepan. Cook over medium heat, stirring constantly until mixture boils.  Boil and stir 1 min, remove from heat and set aside
3. Stir together flour, sugar, baking soda and salt in large bowl. Add eggs, sour cream and beat until well blended. Add cocoa mixture, beat just until blended (batter will be thin). Pour into prepared pan.
4. Bake a 25-30 mins or until cake is done. Do no remove cake from pan.  Spread peanut butter over hot cake and let cool completely.  Prepare chocolate topping and carefully spread over top covering peanut butter. Allow topping to set, cut into squares.


HAPPY MOTHERS DAY TO ALL OF YOU WONDERFUL MOTHERS!  GOD BLESS YOU ALL!

Friday, January 11, 2013

Molten Chocolate Babycakes

I really make full use of my 'new' collection of Nigella Lawson cookbooks which I bought from the recent book warehouse sale.  This time, the recipe is from her book entitled 'How to be a Domestic Goddess'.  After eating this wonderful dessert, I do feel like I'm the Domestic Goddess! minus her exotic good looks. of course...lol

Have you ever eaten Molten Choc Cake or Pudding at the Chilies or TGIF (Thank-God-It's-Friday) Restaurants?  This cake is to die for.  If you are crazy over this cake and not wanting to pay so much for it, well, here's the secret recipe and it doesn't even cost a small hole in your pocket either.  Best thing about doing desserts yourself, is that you can adjust the sweetness.

So easy to make.  That's why I did it.  A winner with my family for sure!

You can make the batter in advance, a few hours or even a day ahead if you like.  Put it in ramekins and keep it in the fridge until you want to bake them.


Molten Chocolate Babycakes
(makes 6 individual 6-ounce custard cups)

scant 1/4 cup soft unsalted butter, plus more for greasing
12 ounces best bittersweet chocolate
1/2 cup sugar (i used a little less than 1/2 cup)
4 large eggs, beaten with a pinch of salt
1 tsp vanilla extract
1/3 cup all-purpose flour
6 individual 6-ounces custard cups, buttered
baking parchment


  • Unless you are making these in advance, preheat the oven to 200dC, putting in a baking sheet at the same time.  Lay parchment paper into the base of the cups.
  • Melt the chocolate and let cool slightly.  Cream together the butter and sugar, and gradually beat in the eggs and salt, then the vanilla.  Now add the flour, and when all is smoothly combined scrape in the cooled chocolate, blending to a smooth batter.
  • Divide batter between the 6 prepared cups/ramekins, quickly whip the baking sheet out of the oven, arrange the little cups on it and replace in the oven.
  • Cook for 10-12mins (extra 2 ins will be need if puddings are refrigerator-cold when you start) and as soon as you take them out of the oven, tip out these babycakes onto small plates or shallow bowls.  Serve with whipped cream, creme fraiche, custard or ice cream.
These beauties are simply luscious and delicious.  The chocolate oozes out when you break the cake which is simply marvelous.  I hope I tempt you enough for you to want to try at making them.


Tuesday, December 25, 2012

Gingerbread House, Gingerbread Man & Black Russian Brownies

Ooo yeah!  The time has come for me to try my hands at making the Gingerbread House!  I thought it was a simple task.  All I need to do is just make the dough house structure, bake it, construct it, decorate it, and voila!  Well, I'm in for a big surprise.

At least, the steps are all so simple until the assembling part!  It took me 3 hours or more to finally complete the assembling and decoration.  It took a lot of planning.  Good thing I baked the house structure a day ahead together with the gingerbread man.


My daughters helped out with the decoration on the gingerbread cookies.  They are very good at it and enjoyed doing it very much!  The 'dress-up' are all their creations.  Nice huh!


Ooo..my walls are up..but wait.  The 'fun' part was the roof and the chimney!  That's where the disappointment and despair begins and I'm not one to give up that easily. Muaahhahhah!
Okay, the roof and chimney looks good... but don't be fooled.  The 'glue' doesn't hold and the roof gave way.  Oh! I'm in desperation.  I tried various ways to keep them together.  Add more frosting and pray hard it will stick but failed!  Tried using the satay stick by supporting the roof from bottom and planted it to the 'ground' but the roof was too heavy.  So, that idea didn't work either.  Now what?

Thought of making a hole through the top of the roof and tie through with a string but dough is too hard to poke through.  So, bad idea.  I'm not gonna put my hours and hours of work to waste.  Being the so-called 'creative' person, tried hard to think of salvaging my house.
Then, yes, the idea came.  The only problem I'm having is the roof, right?  All I need to do is to keep it together - logically, it has to be connected at the top and stay as a 'triangle'.  Since the 'glue frosting' doesn't work, well, I could use ribbon to hold it together and yet make it look like a present!  Oh yes, that might work and it did!  Phew!  Next year, if I want to make this again, got to search for a better 'sticking frosting' than this one.  Anyway, please click this link on how to make this.
There you go... my first ever Gingerbread house.  It is surrounded by Black Russian Brownies.  Scroll down to the bottom for the recipe.


Dinner's done, and now all set to go at tearing down the house and pop it into the mouth.  The kids having fun at 'destroying' the house..that's what this is all about.  FUN!
 Oh! My poor chimney chin chin!
Next, the roof... they don't have a problem at tearing that down!.... kakakkaka

My nephew is such a joker.  He told me that I have to make a 'double storey gingerbread house'  for next Christmas! Yeah rite.. you are so funny, my 'bigger than me' nephew.. wakakak kakak akaka!  Errr.. you are joking right??

Black Russian Brownies
115g bittersweet chocolate, broken into pieces
115g unsalted butter
1/2 tsp coarsely ground black pepper
4 eggs, beaten
1 1/4 cup superfine sugar (I used 1 cup)
1 tsp vanilla extract
3 tbsp Kahlua liqueur
2 tbsp vodka
1 1/3 cup all purpose flour
1/4 tsp baking powder
1/2 cup chopped walnut

1. Pre-heat oven to 180dC.  Prepare pan with parchment paper.
2. Melt the choc and butter with the peppercorns in small pan over low heat. Remove from heat and let cool slightly.
3. Beat together the eggs, sugar and vanilla extract in large bowl and stir in the choc mixture, Kahlua and vodka.
4. Sift the flour and baking powder and stir evenly into the choc mixture.  Stir in the walnut, pour into pan and bake for 20-25 mins or until done.
5. Let cool and cut into pieces.

We celebrated our daughter's birthday together with Christmas.  This will be featured in my next post on her Durian Little Pony Unicorn Cake theme.
MERRY CHRISTMAS & A HAPPY NEW YEAR TO ALL!

Wednesday, June 13, 2012

Mango Chocolate Brownie and Strawberry Chocolate Brownie


Have you ever heard of Mango Chocolate or Strawberry Chocolate Brownies?  I, for one, never heard of it.  So, this idea of mine came about as I was kinda itching to make brownies.  You can call it 'spur-of-the-moment-baking itch'!

I wanted to make a different type of brownie with new flavors other than the usual dark chocolate ones.  So out comes my recipe books on brownies.  After browsing through, I decided to try out something new out of my own.  Then I remembered that I have these blocks of flavored chocolates sitting in my refrigerator and before they are totally forgotten, I'd better try at making brownies out of them.  So here are my Mango and Strawberry Chocolate Brownies which you can't get in any bakery except making them your own or stop by my house..lol.  The result?  Amazingly good!  Hubby and kids enjoy them very much and I think my in-laws, my colleagues (yes, friends, you'll get some too tomorrow!) and my neighbor will undoubtedly enjoy them too!
Mango Chocolate Brownie


Strawberry Chocolate Brownie
Here's how it's made.

250g Mango or Strawberry flavored chocolate blocks (you can use any other flavored chocolate ie orange, lemon that you may find near your baking ingredient store)
100g butter
3/4 cup caster sugar (you don't need much as the flavored chocolates are usually quite sweet)
4 eggs
1 tsp vanilla extract
1 cup all-purpose flour
1/2 tsp baking powder

1. Pre-heat oven to 180dC, line baking pan with parchment paper.
2. On a double boiler, melt the flavored chocolate with the butter.  Take off heat and stir in the sugar.  Whisk  to mix well.
3. Add eggs one at a time and whisk till combine and add vanilla.
4. Add in the flour in 2 batches and mix well.
5. Pour into prepared pan and bake for 40-45 mins or until done.

The texture of this brownie is gooey in the inside but crispy at the top.  Love it.  I shall add this recipe to my special book where I record recipes that I created for a 'hand-me-down' to my kids (hopefully they'll take after me at baking and cooking).. :)


Like? Bake it! Kids and adults will love these.

Saturday, September 3, 2011

Brownie Bottom Cheesecake


 Are you salivating already?  Well, you should.  This cake is sooooo yummy.  The brownie bottom is so moist, rich with chocolate and the cheese top is very creamy and yet very light.  Truly delicious!  The original recipe uses strawberries dipped in chocolate as the decoration with chocolate drizzle all over the cheese top.  Since I can't find any strawberries, I decided to use canned peaches instead and chocolate curls in the center.  I made this for my dear hubby's birthday yesterday.  I can tell you now, that I will certainly make this again.  My daughter's best friend who is our neighbour's kid, came over today and she never turned down an offer  whenever I cook or bake something.  And when I asked 'Who wants to have a piece of mommy's Brownie Bottom Cheesecake?', well, you guessed it.  My 2 girls and their friend raised their hands and said 'I want, I want'!  (17.02! You want?) wakaakaakakkaaa.....


Brownie Bottom Cheesecake
Brownie Bottom:
1/2 cup/115g unsalted butter, plus extra for greasing
4oz/115g bittersweet chocolate, broken into pieces
1 cup superfine sugar
2 eggs, beaten
1/4 cup milk
1 cup all purpose flour

1. Pre-heat oven to 350F/180C. Lightly grease a 9in round springform cake pan.
2. Melt butter and chocolate in a pan over low heat, stirring frequently until smooth. Remove from heat and beat in the sugar.
3. Add the eggs and milk, beating well, stir in the flour, mixing just until blended. Spoon into prepared pan and bake for 25mins. Remove from oven while preparing the topping. Reduce the oven temperature to 325F/160C.

Topping:
2 1/4 cups/520g cream cheese 
2/3 cup superfine sugar
3 eggs, beaten
1tsp vanilla extract
1/2 cup plain yogurt (I used buttermilk as substitute)
melted chocolate, for drizzling

Strawberries dipped in melted chocolate, to serve.

1. Beat together the cream cheese, sugar, eggs and vanilla extract until well blended.
2. Stir in the yogurt, then pour over the brownie bottom. Bake for an additional 45-55 mins or until the center is almost set.
3. Run a knife around the edge of the cake to loosen from the pan. Let cool before removing from the pan. Chill in refrigerator for 4 hours or overnight before cutting the slices.
4. Drizzle with melted chocolate and serve with chocolate-dipped strawberries.


Friday, November 26, 2010

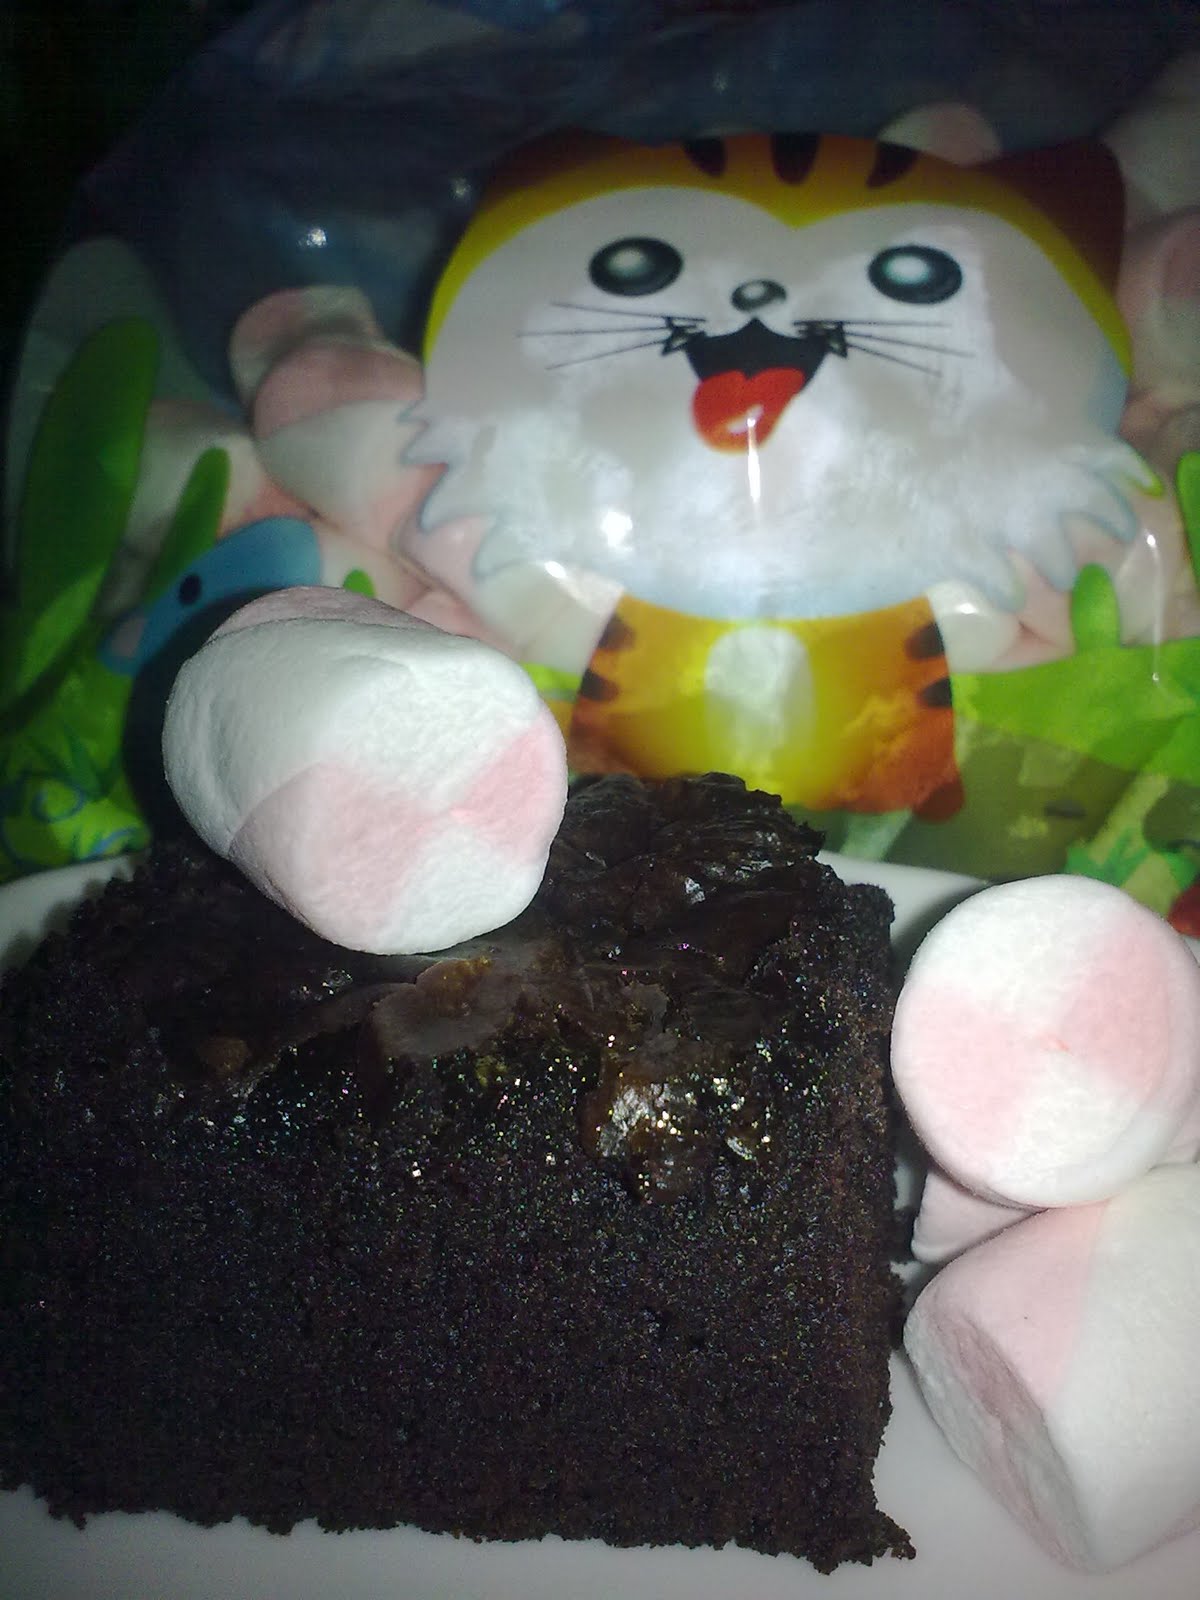
Awesome Marshmallow Brownies!


I never liked marshmallow. When you eat it as it is, it tasted and felt like sweetened sud! I know it's an odd way of describing it but that's how I felt when I first tasted it! When someone tells me they love marshmallow especially my husband and my children, i would say 'yucks!' and make a face. Even though I don't fancy marshmallow it doesn't mean I should deprive my family of it. I find that I'd prefer marshmallow in a brownie. It added gooey texture to it and at the same time, because of the sugar content, it make the top very crispy.

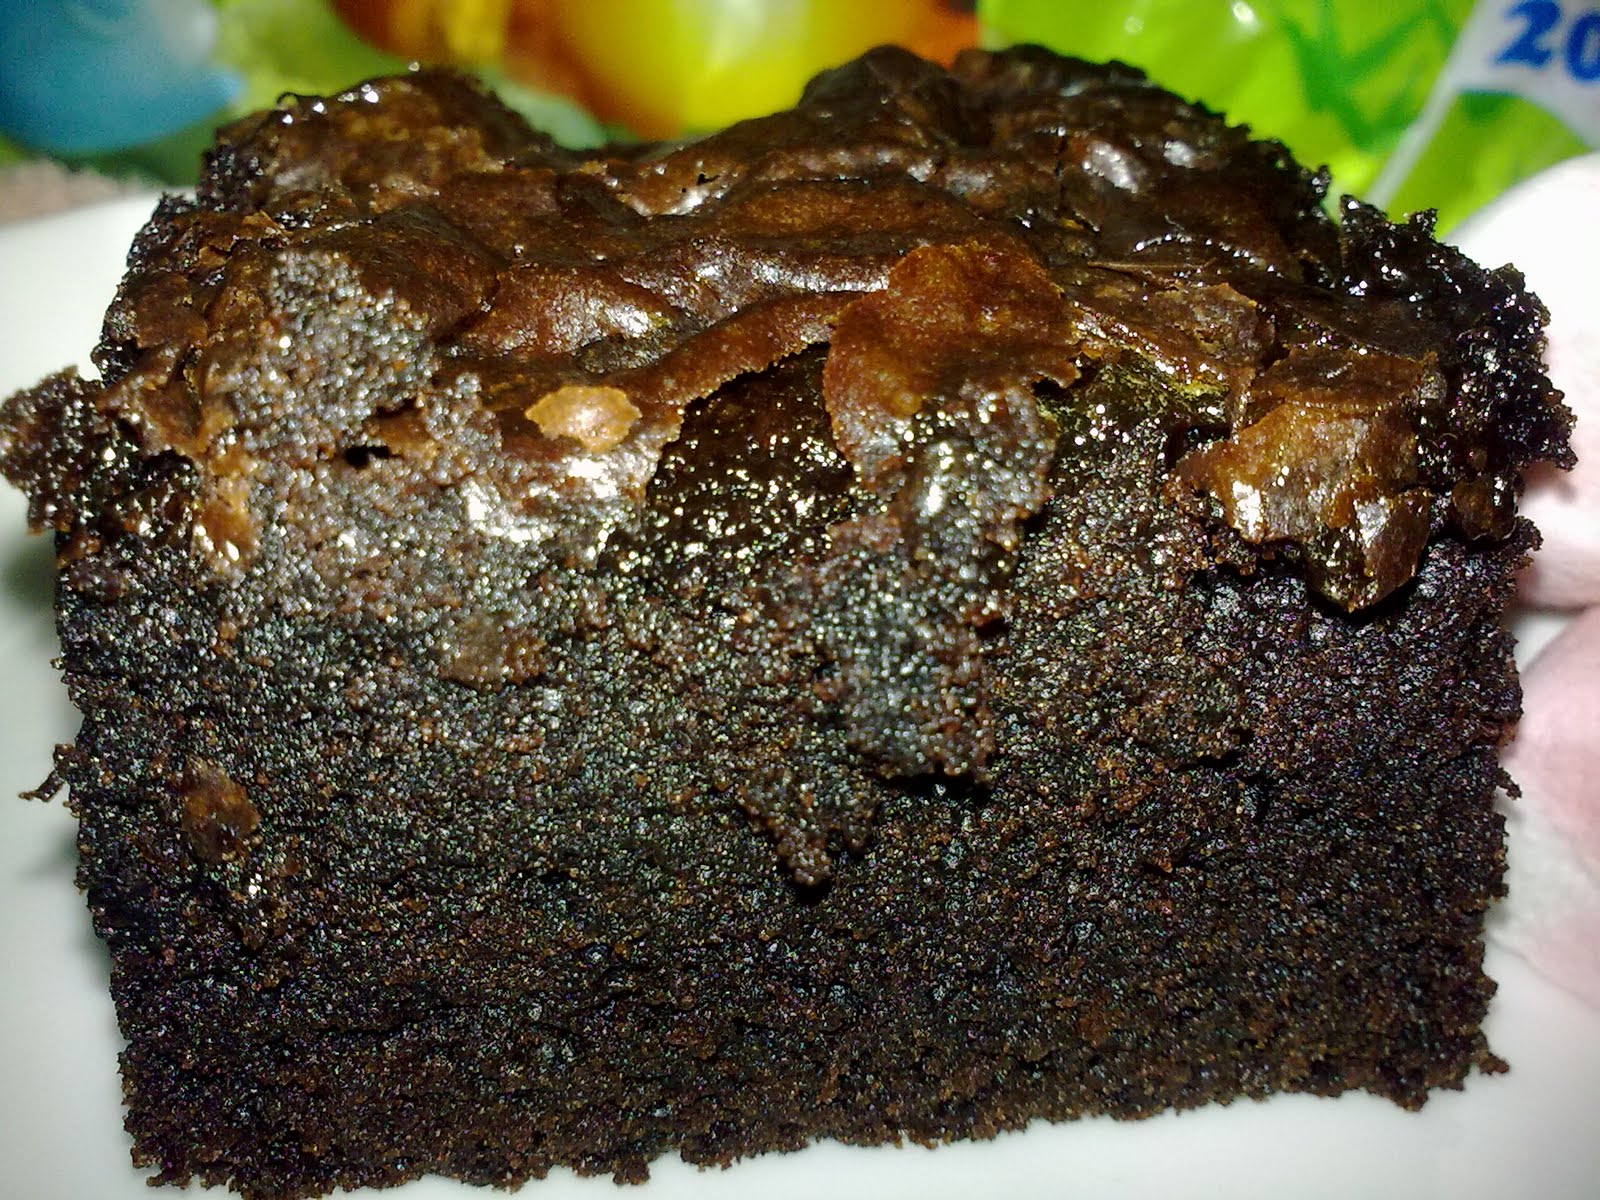
See how moist it is. The marshmallows will rise to the top of the brownie as it bakes and when it's done and cooled, you will get the crispy top. As you slice the brownie, you will get a 'stringy' effect that sticks to your knife just like when you cut a slice of pizza and the mozarella cheese being pulled away. This is a great recipe which your family will love it.

,
The marshmallow melted at the top and leave a crispy top.


Are you salivating already??

Here's the recipe:

Marshmallow Brownie
150g butter } melted in a heatproof bowl over
125g dark chocolate } a pan of simmering water until just melted.
3 eggs
1 cup caster sugar
1 tsp vanilla
1 cup plain flour
1/4 cup cocoa powder
1 cup unsalted peanut (optional)
1 cup mini marshmallow

1. Pre-heat oven to 180C. Line bas of 8inch pan with baking paper, extending over 2 sides.
2. Beat the eggs, sugar and vanilla together with a wire whisk until well combined.
3. Sift the flour and cocoa together.
4. Whisk the chocolate mixture into the eggs and stir in flour and cocoa. Do not overbeat.
5. Fold in peanut and marshmallows.
6. Pour into prepared pan and bake till done.


Pavlova Has it been more than two years already since I've lain dormant?  Really?  Two whole years?!! Oh my... then it's about t...