Translate

Sunday, June 30, 2013

Tiramisu

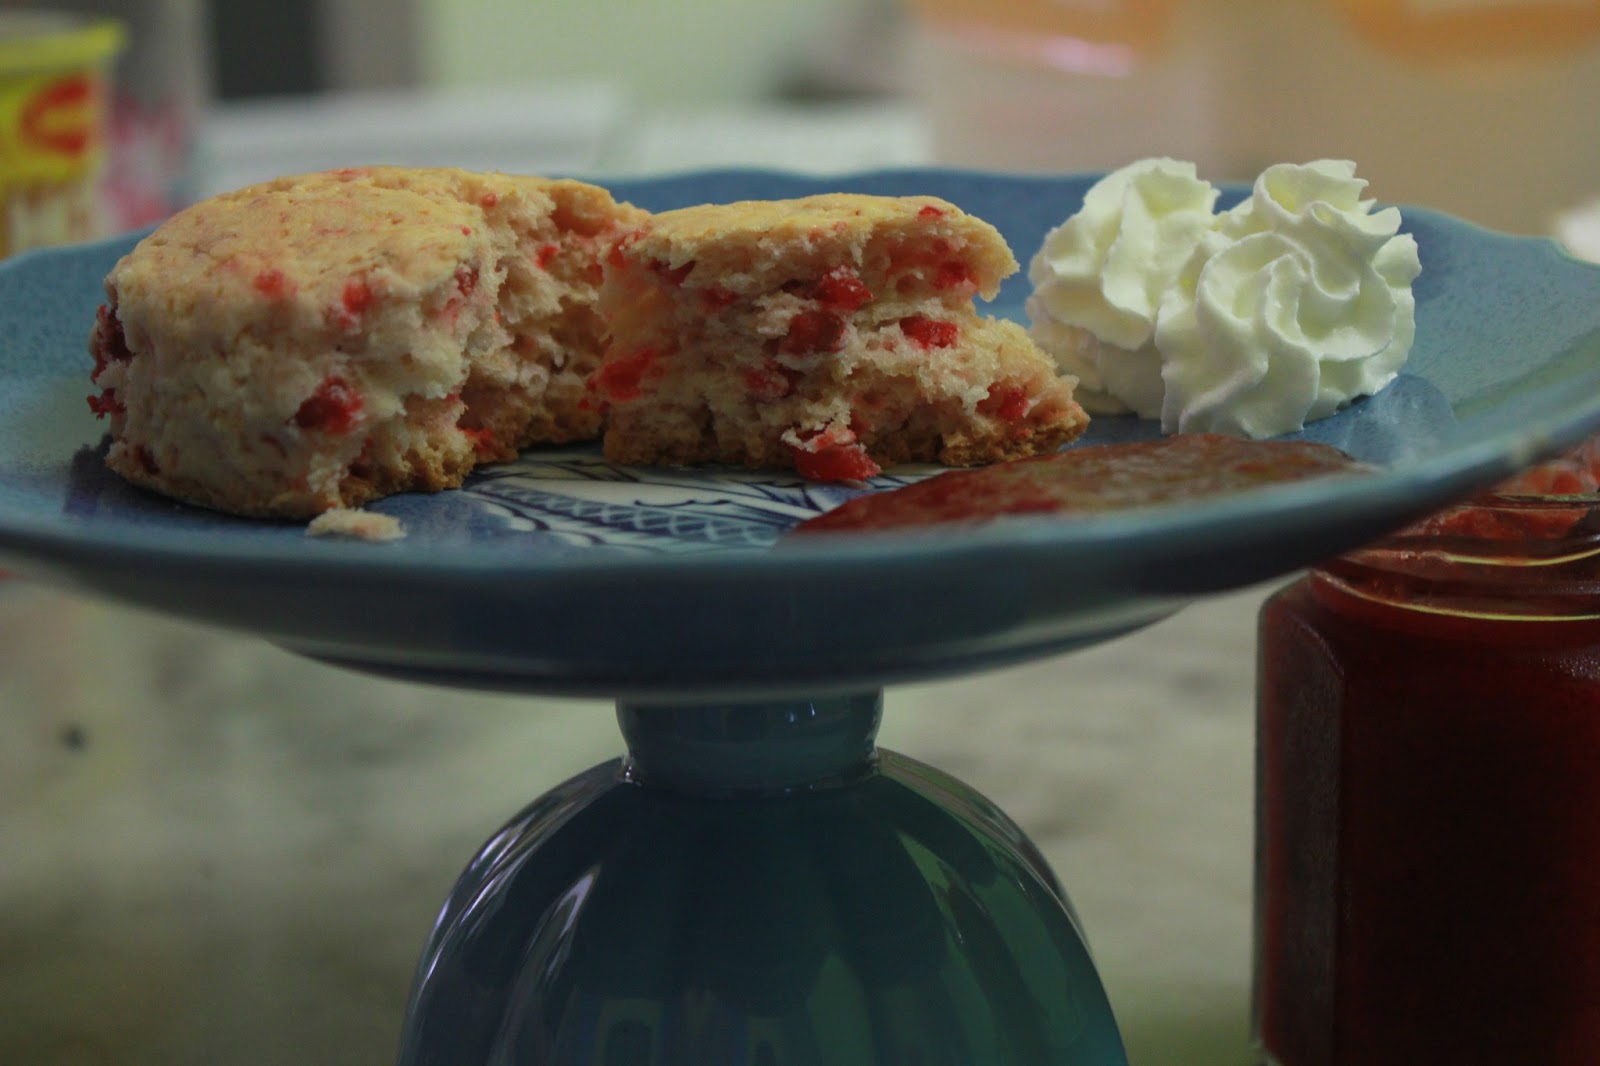
Early of the year I made a challenge with myself, to make The Tiramisu before the year is up.  Finally, I did it yesterday.  It's so super duper delicious, if I may say so...  .

I thought it's going to be so complicated but actually it's so easy to make.  Well, at least this recipe that I found from my Good Housekeeping cookbook, is very easy.  My son's feedback, 'mom, this tastes like the professionals made it'. Thank you, son.  Looks like mom can make this again.  heehhee..

Since we have homemade pizza for dinner (well, half homemade - I bought the pizza bread), decided to go Italian all the way...hence the Tiramisu.  This is a very rich dessert.  It's creamy with mascarpone cheese and whipping cream.  That's why its so good...hmm..gotta to take a break now to have a piece of the Tiramisu..simply irresistible.  Will be right back! 


Okay, I'm back.  Happy and satisfied.
Here's the recipe.
1/4 cup hot espresso or very strong brewed coffee
3 tbsp brandy
2 tbsp plus 1/2 cup sugar
18 crisp Italian ladyfingers
1/3 cup milk
1 container (500g) mascarpone cheese
3/4 cup heavy or whipping cream
unsweetened cocoa powder

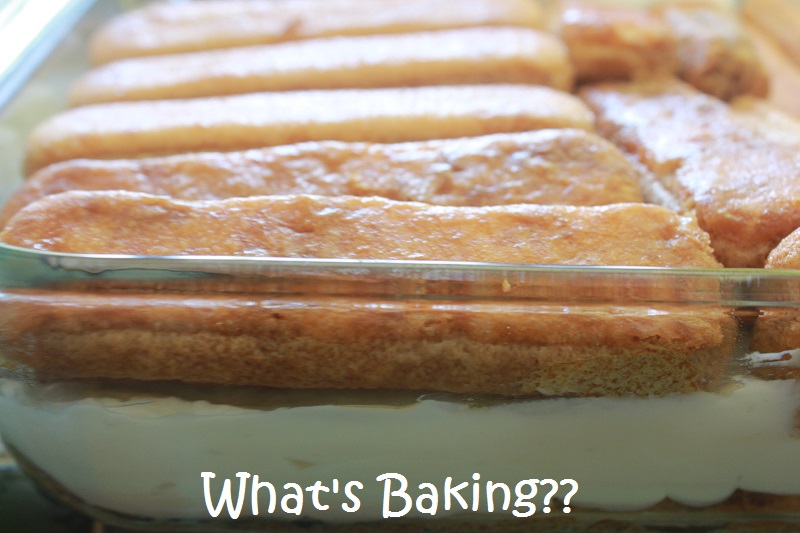
1. In a plate, stir coffee, brandy and 2 tbsp sugar until sugar dissolved; cool to room temperature. Dip both sides of 9 lady fingers into coffee mixture, one at a time, to soak and arrange in single layer in 8 inch square baking dish.
2. In large bowl, stir milk and remaining 1/2 cup sugar until sugar has dissolved. Stir in mascarpone until blended.
3. In small bowl, with electric mixer at high speed, beat cream until soft peaks form.  With rubber spatula, gently fold whipped cream into mascarpone mixture until blended. Spread half of mixture over ladyfingers in baking dish.
4. Dip remaining ladyfingers into coffee mixture and arrange on top of mascarpone mixture. Spread with remaining mascarpone mixture.  Refrigerate 3 hours or up to overnight.
5. Just before serving, dust with cocoa powder.


Here's the pizza, Pizza Margherita.  Not gonna post the recipe since I had done so in one of my very early posts.


Black Pepper Pizza...

Enjoyed by my beloveds...

Err.. wheather is freaking hot in KL..here's homemade Vanilla Ice Cream to tempt you a little further.. 

Friday, June 28, 2013

Deep Chocolate Sour Cream Pound Cake (Tish Boyle)

This is one super yummy chocolate pound cake.  And why is that?  Simply because, it has my favorite ingredient - the Sour Cream, of course! hehehhee..

I have this thing with sour cream, yogurt and whipping cream.  I don't know why but I just love them in any bakes as not only does it adds flavor but the texture is velvety smooth.  They are also wonderful in curry dishes.  Any of the three can replace the coconut milk for a healthier choice in cooking.

So here's a recipe from Tish Boyle.  It's easy to make and elegant to serve if you plan to entertain.  Try this..everybody loves chocolate and I bet you, you will definitely repeat making this smooth velvety cake.


1 1/2 cups all purpose flour
1/2 cup cake flour
1 cup Dutch processed cocoa powder
2 1/4 tsp baking powder
1/2 tsp salt
1 1/2 cups unsalted butter, softened
2 1/2 cups caster sugar (I used 1 3/4 cups)
4 large eggs
2 tsp vanilla
1 cup sour cream

Chocolate Glaze:
1 cup whipping cream
1 cup choc chips or 250g dark semi sweet chocolate (chopped)
Boil whipping cream, take off heat and add in chocolate.  Let it stand until melted, stir to smooth.
1. Pre-heat oven to 170dC and grease the inside of 10-inch Bundt pan, dust the pan with flour.
2. Stir together the flours, cocoa powder, baking powder and salt in a medium bowl. Set aside.
3. Use an electric mixture, beat butter at medium speed until very creamy, about 2 mins.  Gradually beat in sugar.  Increase speed to medium high, beat mixture until light and well blended, about 4 mins.  Beat in eggs one at a time, mixing well after addition and scraping down the sides of the bowl as necessary.
4.In a small bow, stir the vanilla into the sour cream. At low speed, add dry ingredients to the butter mixture  in three additions, alternating with sour cream in two additions and mixing until blended.
5. Pour into prepared pan, bake for 65 -75 mins or until cake is done.  Cool cake in pan on wire rack for 15 mins.
6. Invert cake onto the rack and let cool completely.  Our glaze on cake.  Suitable to serve warm or chilled.
Don't you just love the texture!  Yummeh!!

Sunday, June 23, 2013

Strawberry Scones and Cameron Highlands Holiday Get-a-way

The last week of the 2-weeks school break in mid June brought us to a short holiday in Cameron Highlands.  Yup.. again! If you have been following my earlier posts, my big big family and I went there last October.  We had a great time there and now, it's only us.

It was a last minute decision which we enjoyed the much cooler air in the highlands as it was freaking hot in KL!

This time, we discovered a small old fashion cafe that serves tea snacks such as scones, pies, cakes and sandwiches.  Their scones are really yummy and the best part, the food there is so cheap.  If you ever go to Cameron, I highly recommend you to visit The Lord's Cafe at Tanah Rata.  This quaint little cafe is on the first floor of Mary Brown outlet.  You can't miss it as it's right smack by the main road of Tanah Rata.

After eating their homemade strawberry scones, I felt inspired to make some when I get home and I did.  The recipe is at the end of this post.  Here are some of the pictures of our holiday.
 Lavender Farm


Me and my mini me at the Lavender Farm
   

 Taken at the Rose Farm


A small cabbage patch in the Rose Farm
Below is the strawberry scones that we had at Lord's Cafe.

And now, here's the recipe for my strawberry scones.

1 stick chilled butter, chopped, plus extra for greasing
3 cups self-raising flour, plus extra for dusting
1 tsp baking powder
1 tsp salt
1/4 cup icing sugar, extra for sprinkling
1 cup dried strawberries, chopped
scant 3/4 cup milk, extra for brushing
1. Pre heat the oven to 160dC. Grease a 12-inch square cookie sheet.
2. Sift the flour and baking powder into a mixing bow,add the salt and butter, and cut the butter into the flour using a pastry blender until the mixture resembles bread crumbs.  Add the sugar, strawberries and milk and mix to form a dough, adding a little more milk if the mixture is too dry.
3. Sift flour onto a clean countertop and roll the dough to 1 inch thick using a rolling pin. Cut out 10 scones with a 1 1/2 inch round cutter, gathering up the trimmings and re-rolling as necessary.
4. Place the scones on the cookie sheet so that they are touching each other, which helps the scones to rise up straight. Brush the tops of the scones with a little milk and sprinkle with icing sugar.
5. Bake 12 - 15 mins until the scones are golden brown and sound hollow when you tap it from the bottom. Remove from oven and serve warm with strawberry jam and whipping cream.


 I served these scones with my homemade strawberry jam.  Where did the strawberries come from?  From Cameron Highlands, off course!..hheheheh..
 To wash it all down, nothing beats the strawberry tea..from the Camerons too.  Simply fantastic and satisfying tea!

Wanna have some scones?? 

Sunday, June 2, 2013

Prawn Sambal with Petai and Belimbing

My family loves Petai.  Petai is the local broad bean which scientifically known as Parkia Speciosa.  It's bitter and it stinks but locals love these beans.  The local Malays usually eat them raw but I don't.  Even to me, the smell and the taste is just too strong for me when it's raw.  I prefer mine cooked in sambal.  After eating this, be prepared to have smelly breadth and smelly urine!  You'd think then why on earth do we eat them?

Well, they are simply delicious when you cooked them in sambal and goes very well with white fluffy rice. To top it, they have great health benefits and its not just hearsay.  It's scientifically proven.  Petai carries a wide range of health benefits; from anaemia to heartburn to high blood pressure to constipation to ulcers to stress to strokes and many more.

You can read more benefits of petai from wikipedia.  The Petai is the seeds of long flat pods of bright green.  It's sold quite expensive here which I'm still wondering why. Could it be that the tree is huge and no one dares to climb to get the pods?  I'm glad I found a stall near my home that sells Petai every now and then.  Petai is not all the time available as it's seasonal.  Maybe that's one of the reason why it's not cheap too.


This is the Petai pods


 Peel off the pods, you'll get this bean covered with a thin layer of skin.


To eat them, you have to peel off the skin and it leaves you with the Petai seed.  I usually cut it in half lengthwise just in case there's a little inhabitant in it...the little worm.  I don't want to eat mine with 'extra protein' in it ! .. 

Next, is the Belimbing.  This adds natural sourness to the sambal.  It's scientifically called Aveerhoe Bilimbi.  You can find the goodness of this wonderful fruit in wikipedia too.  I like the tree.  It's very shady and the fruits grow in bunches along the branches of the tree.  Simply beautiful to look at .
So here is the recipe for my sambal.
Blend together into a paste:
handful of shallots
4 candlenuts
2 in shrimp paste
handful of dried chili
300gm prawns, deshelled
1 bowl of belimbing cut into halves
200gm petai, halves
1/2 cup water
salt to taste

1. Heat oil in wok and fry the blended paste till fragrant and oil separates.
2. Add in belimbing and fry till slightly soft.
3. Add in petai, fry for 2 mins.
4. Add water and salt.  
5. Lastly add in prawns and take off heat when prawns are just cooked.

Wonderful aroma, tasteful flavor of spiciness, sourness and saltiness.  MMmmmm.. delicious with nasi lemak or plain rice.

Pavlova Has it been more than two years already since I've lain dormant?  Really?  Two whole years?!! Oh my... then it's about t...